IKEA Hack: Giving My Dresser A Facelift

It has been an interesting year in quarantine and I have started to develop what I am calling “nesters syndrome”. I am obsessed with updating my apartment! Anyone else?
I want to paint the walls and old furniture, buy new rugs, change the artwork, and reorganize almost every inch of my apartment these days. With that in mind, I decided to tackle another home improvement project last month and give my trusty IKEA Hemnes dresser a little facelift.
Before I begin with the transformation, I want to give a shout out to Pinterest. Thank goodness for the ability to choose from endless “IKEA dresser makeover” options. Although I was initially intrigued by the idea of painting this baby bright blue, I eventually opted for a more subtle look.
Let’s get started!
What You’ll Need:
Rust-Oleum Chalked Paint in charcoal
Rust-Oleum Chalked Paint Matte Top Coat
Wood Stain
Old Furniture
Wood Filler or Spackle
Drill
2 1×2 boards
A whole lot of sand paper
Step 1: Prep
The first step is to clean and wipe down your entire piece. This is important so that the paint properly adheres to your surface. Wipe with a tack cloth to get off all dust. Remove all your drawers and take off hardware.
Tip: I put all of my hardware in a labeled plastic bag and reused it in my living room.
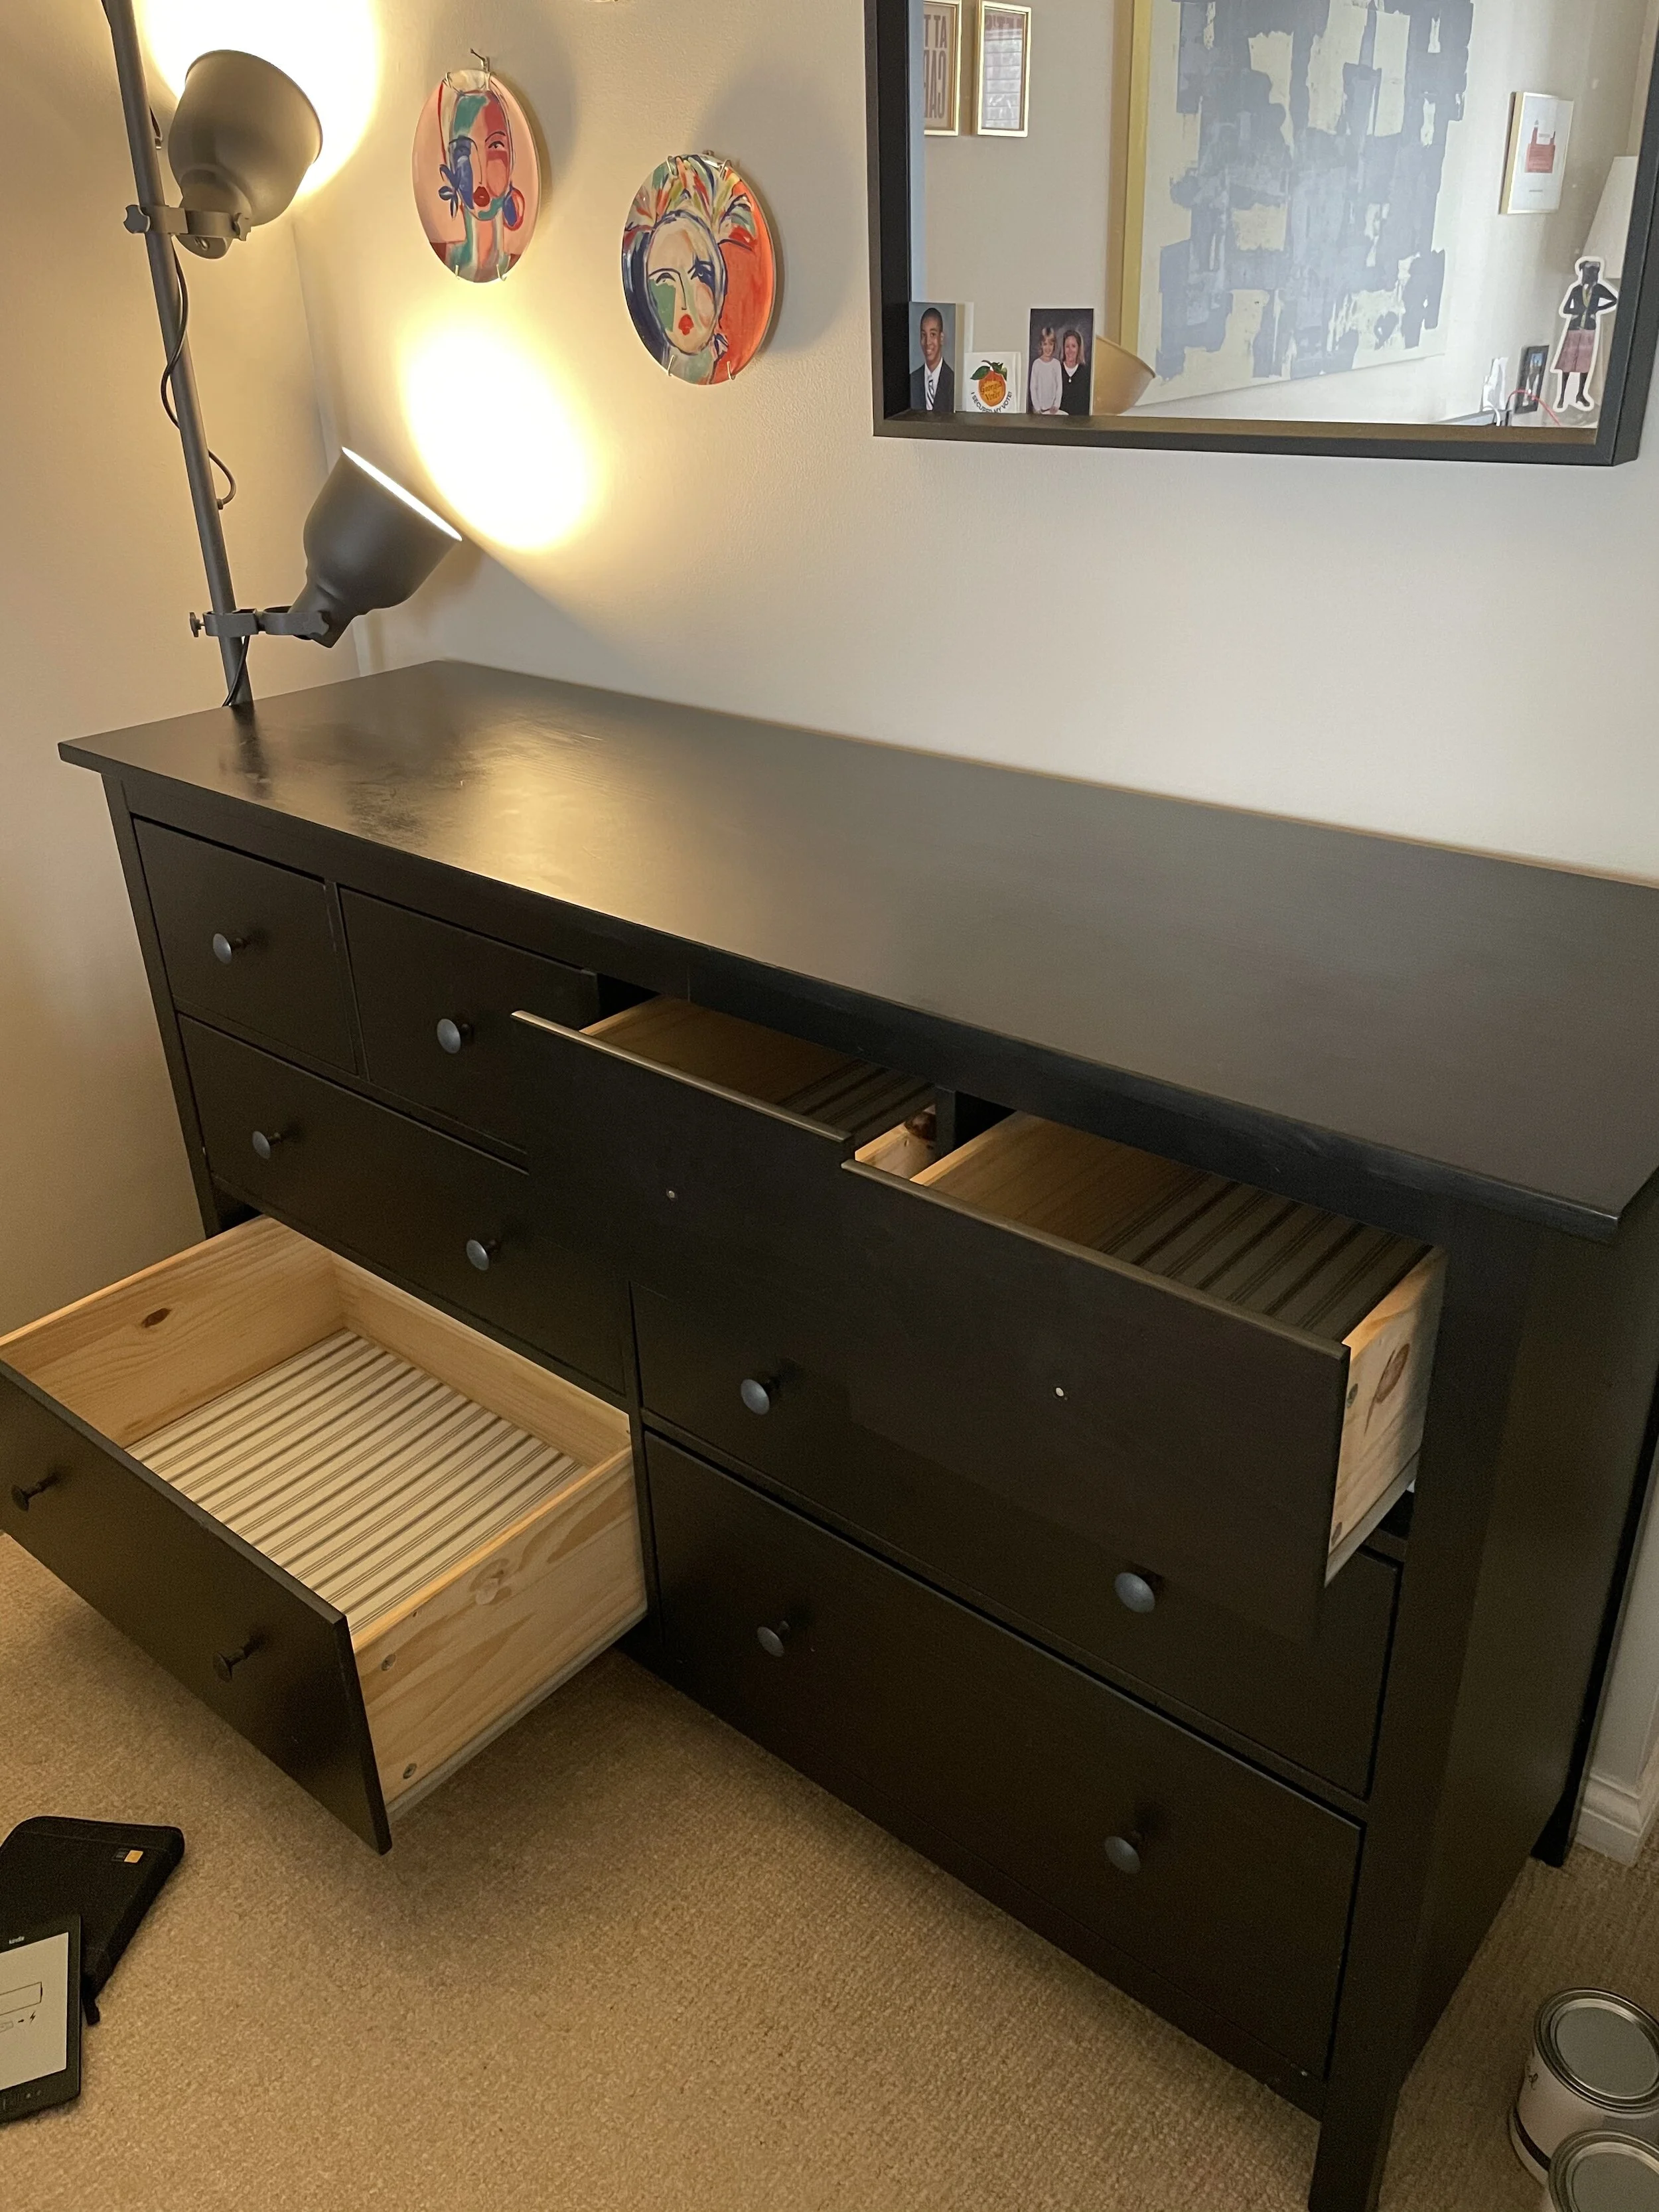
Wipe down the dresser, remove hardware, and take out the drawers.
Step 2: Fill Holes
If you are putting your hardware in a new location, you have to fill the holes from the old knobs first. Using spackle, I filled the hardware holes making sure to overfill. Once it’s dry, you can sand it gently, and the surface should be all smooth. I wiped off any residue with a damp cloth.

This was the moment when I started to feel like a real DIY queen.
Step 3: Paint!
Now for the fun part… paint! I used Rust-Oleum Chalked paint from Home Depot because I liked the matte, velvety look. I did 2 coats of the color “charcoal” and switched between a paint brush and a 1/4 nap roller for a smoother finish. The color wasn’t too different from the original black, but it certainly freshened it up!
Once dry, finish with a clear top coat. I used Rust-Oleum Chalked Clear Top Coat.
Tip: start with a brush, and then use your roller to smooth it out and paint the top and sides.
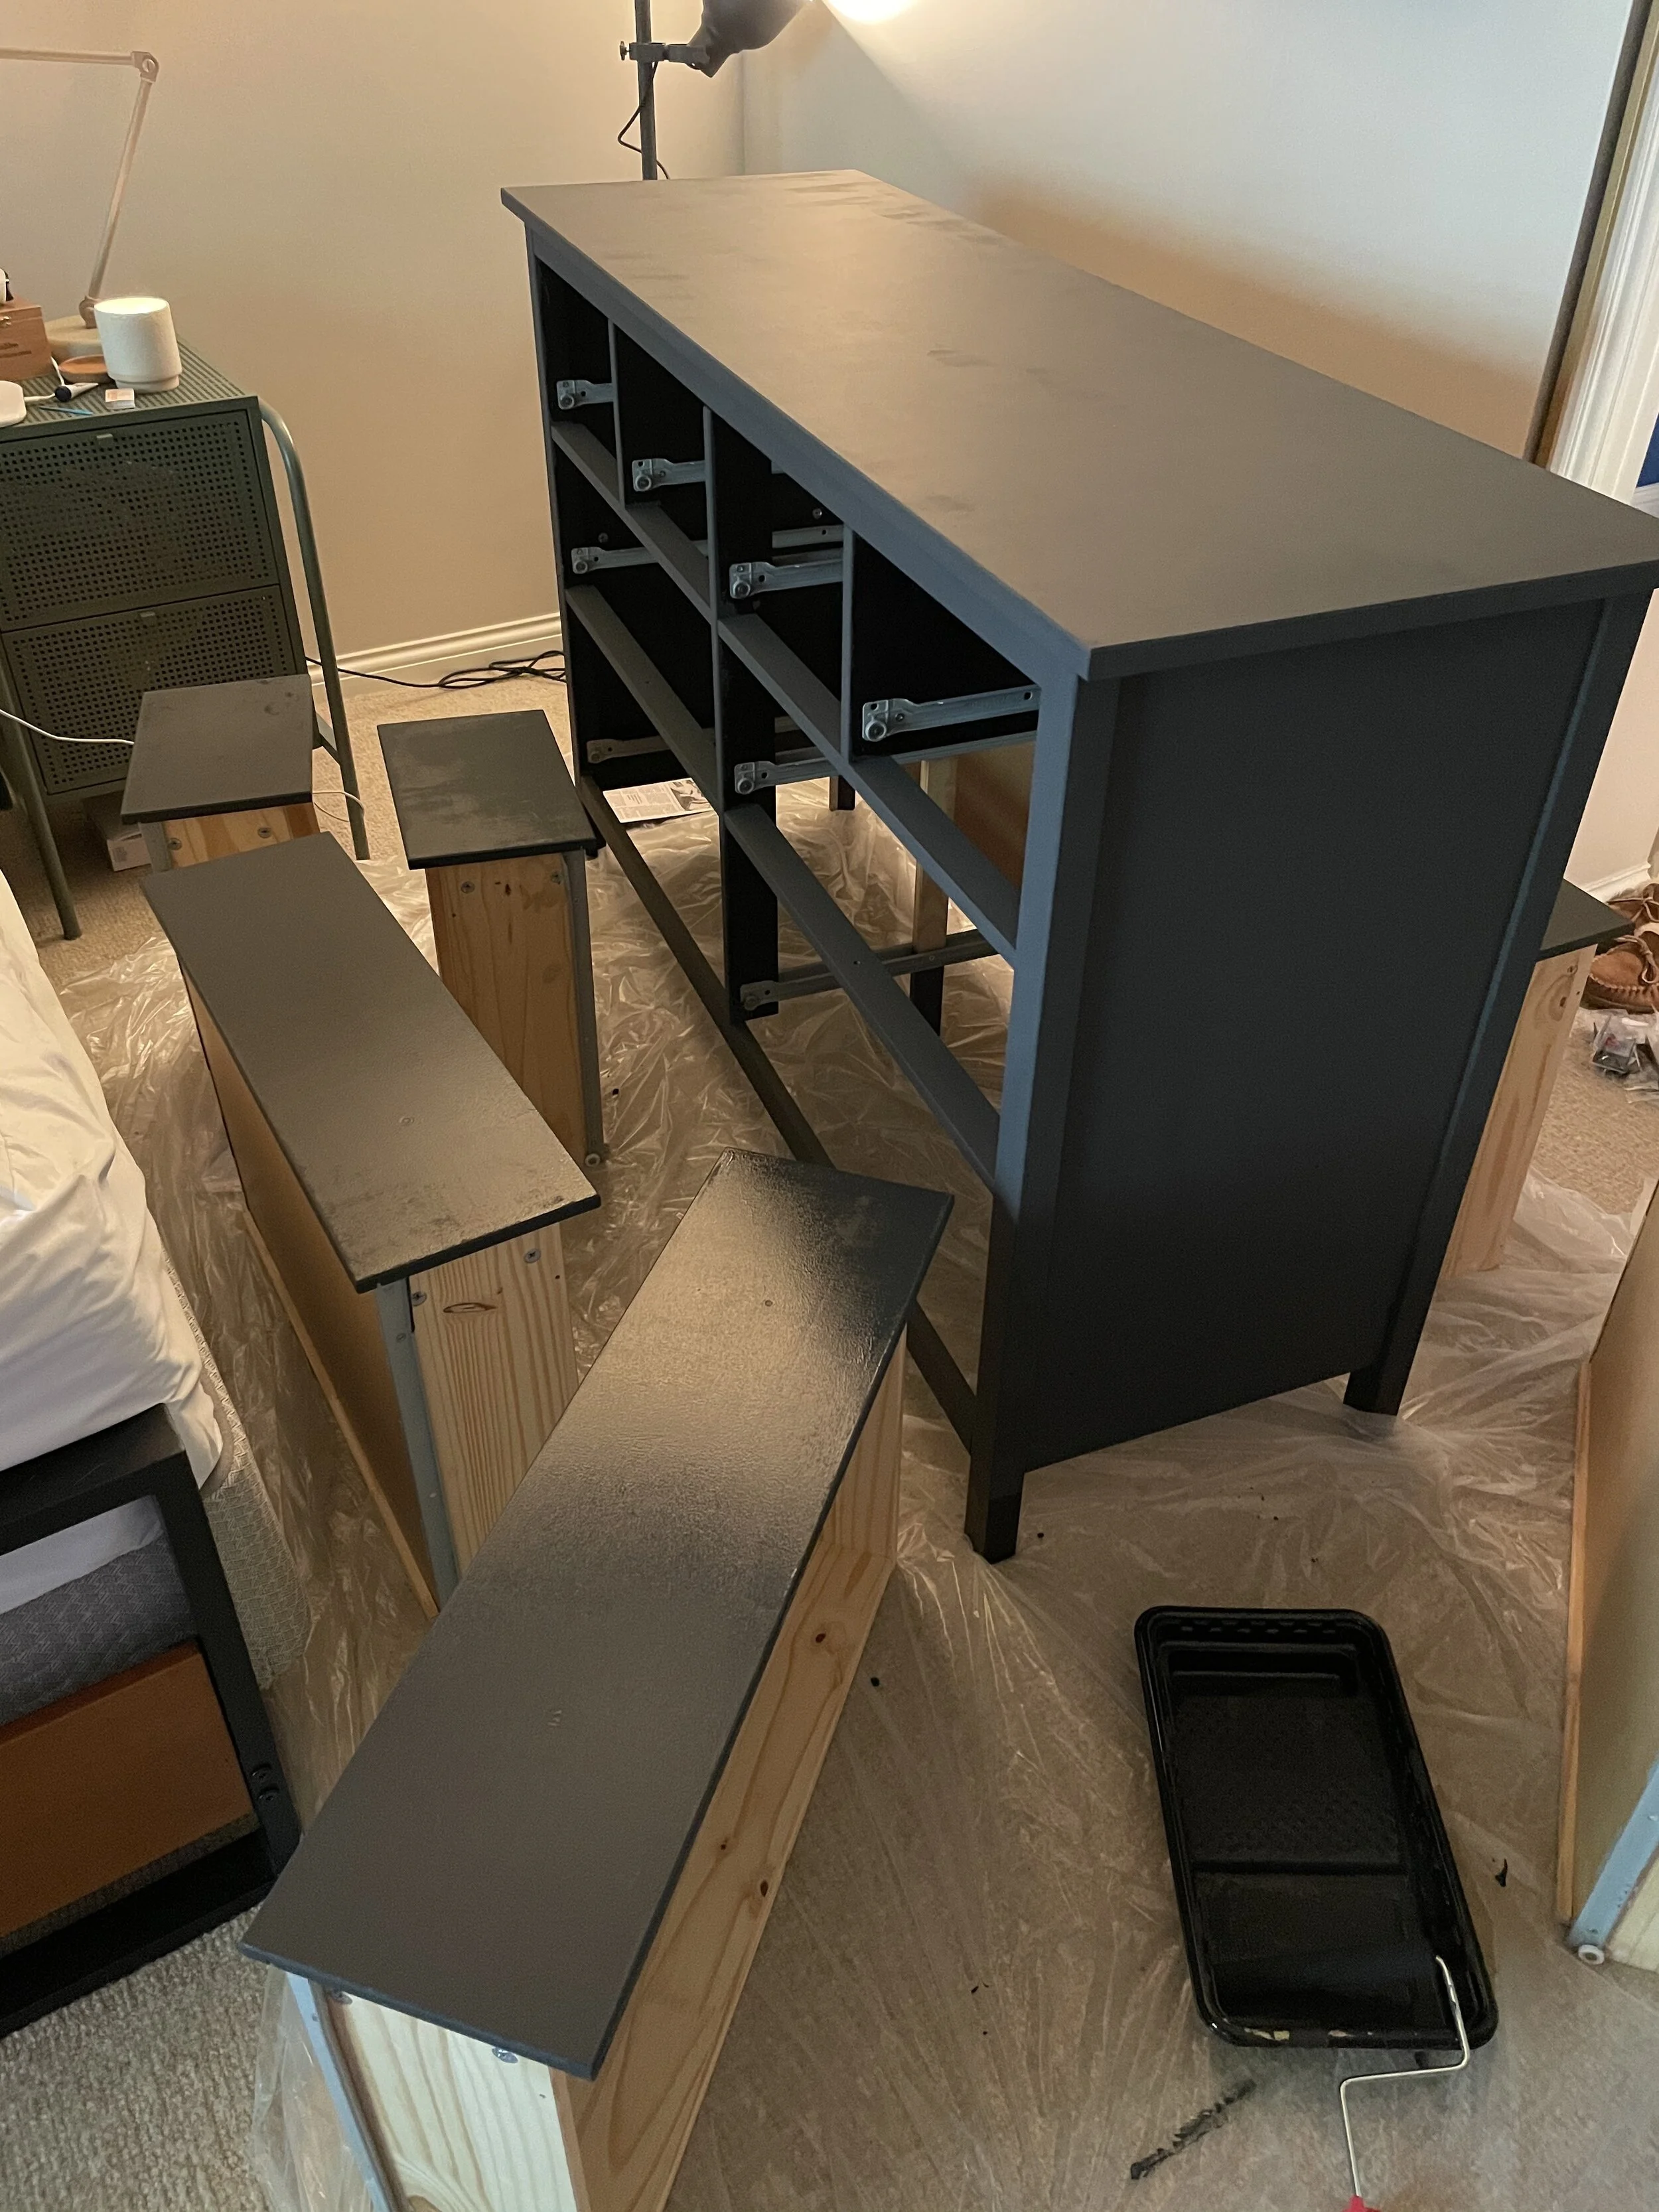
Waiting for it to dry…
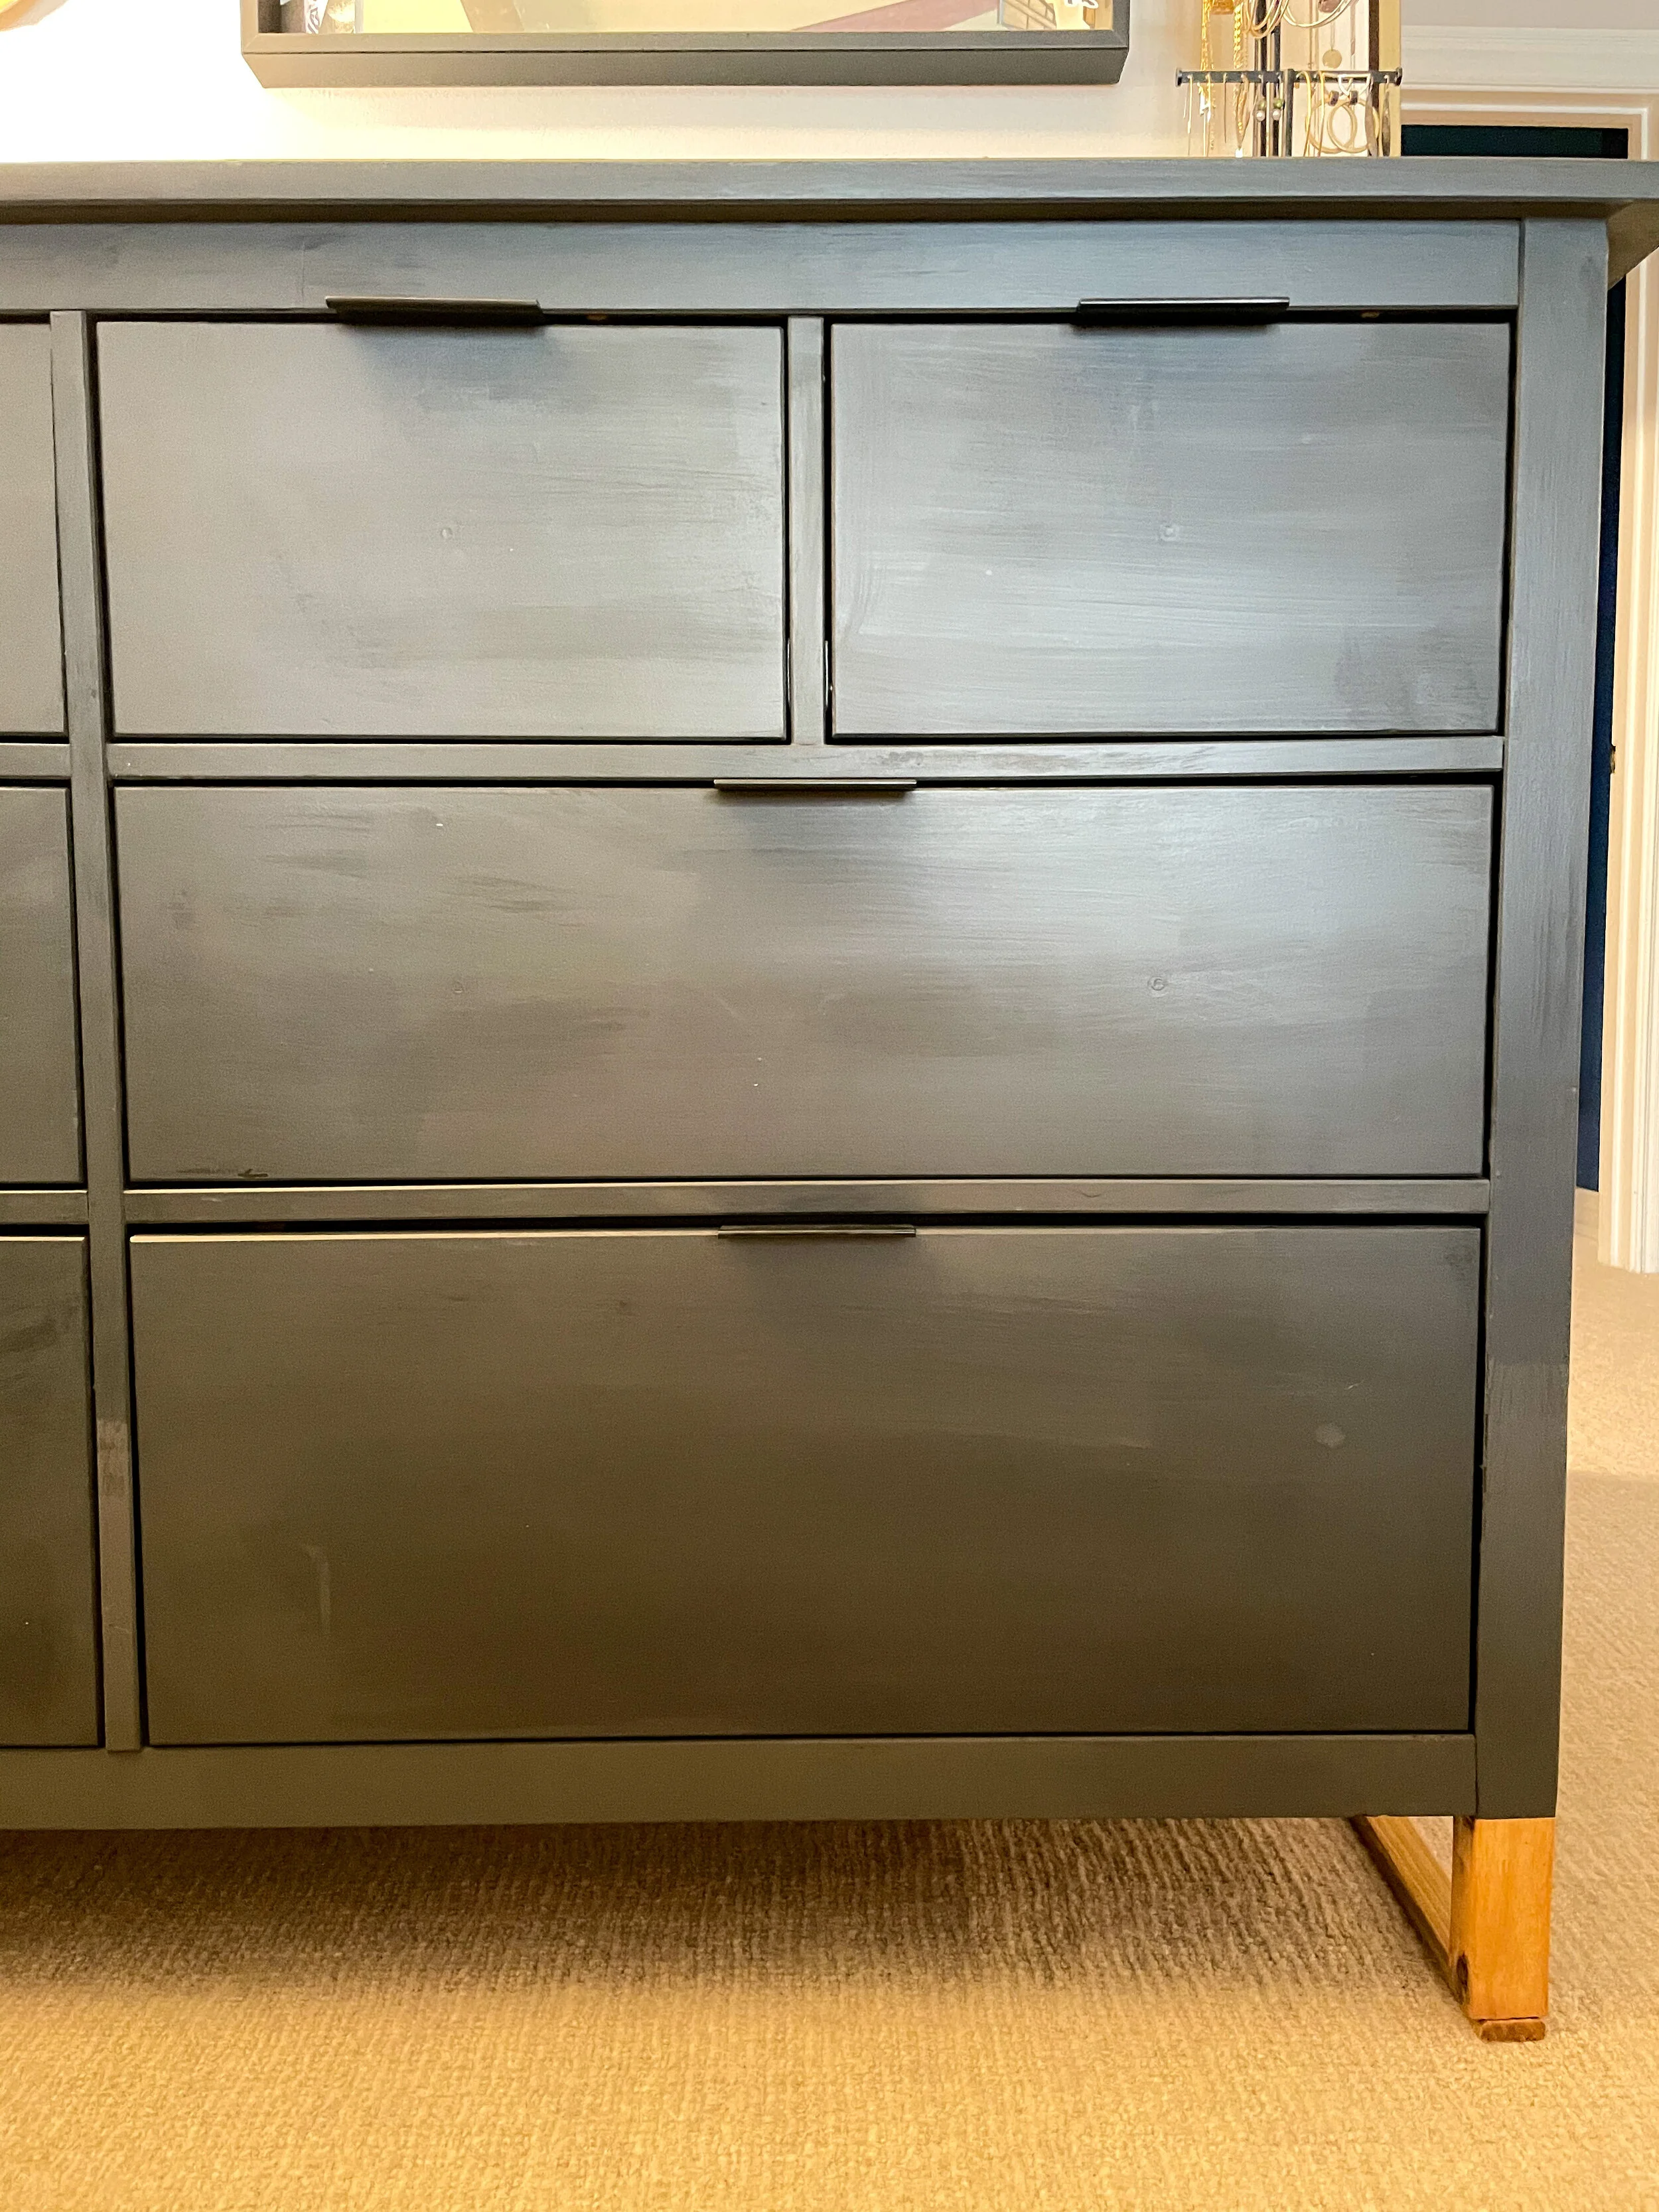
Step 4: Hardware
I used this hardware! To attach, I measured the distance across the inside of the drawer, found the center point, then lined up the pull and marked two holes on both sides. It took a few extra minutes, but I wanted to be sure they were consistent throughout.
Attach with a drill (carefully!)
It’s not much, but it’s honest work.
Step 5: Leg-lift *optional
Using 1×2 boards, I turned the normal dresser legs into something cooler! First, I sanded off the existing paint on the legs. THIS TOOK A LOT OF EFFORT. I used an electric sander because a little elbow grease wasn’t enough. Then I cut and stained the wood with this wood stain. I attached the boards with nails (and a little bit of wood glue) to secure. The result is a modern rectangular leg!

Sanding off the black paint — the worst part, but so worth it!
C’est fini!
Another project done — woohoo! I hope you are inspired by the DIY-er in me and find joy in changing things up, too. Be sure to follow me on IG for more updates!
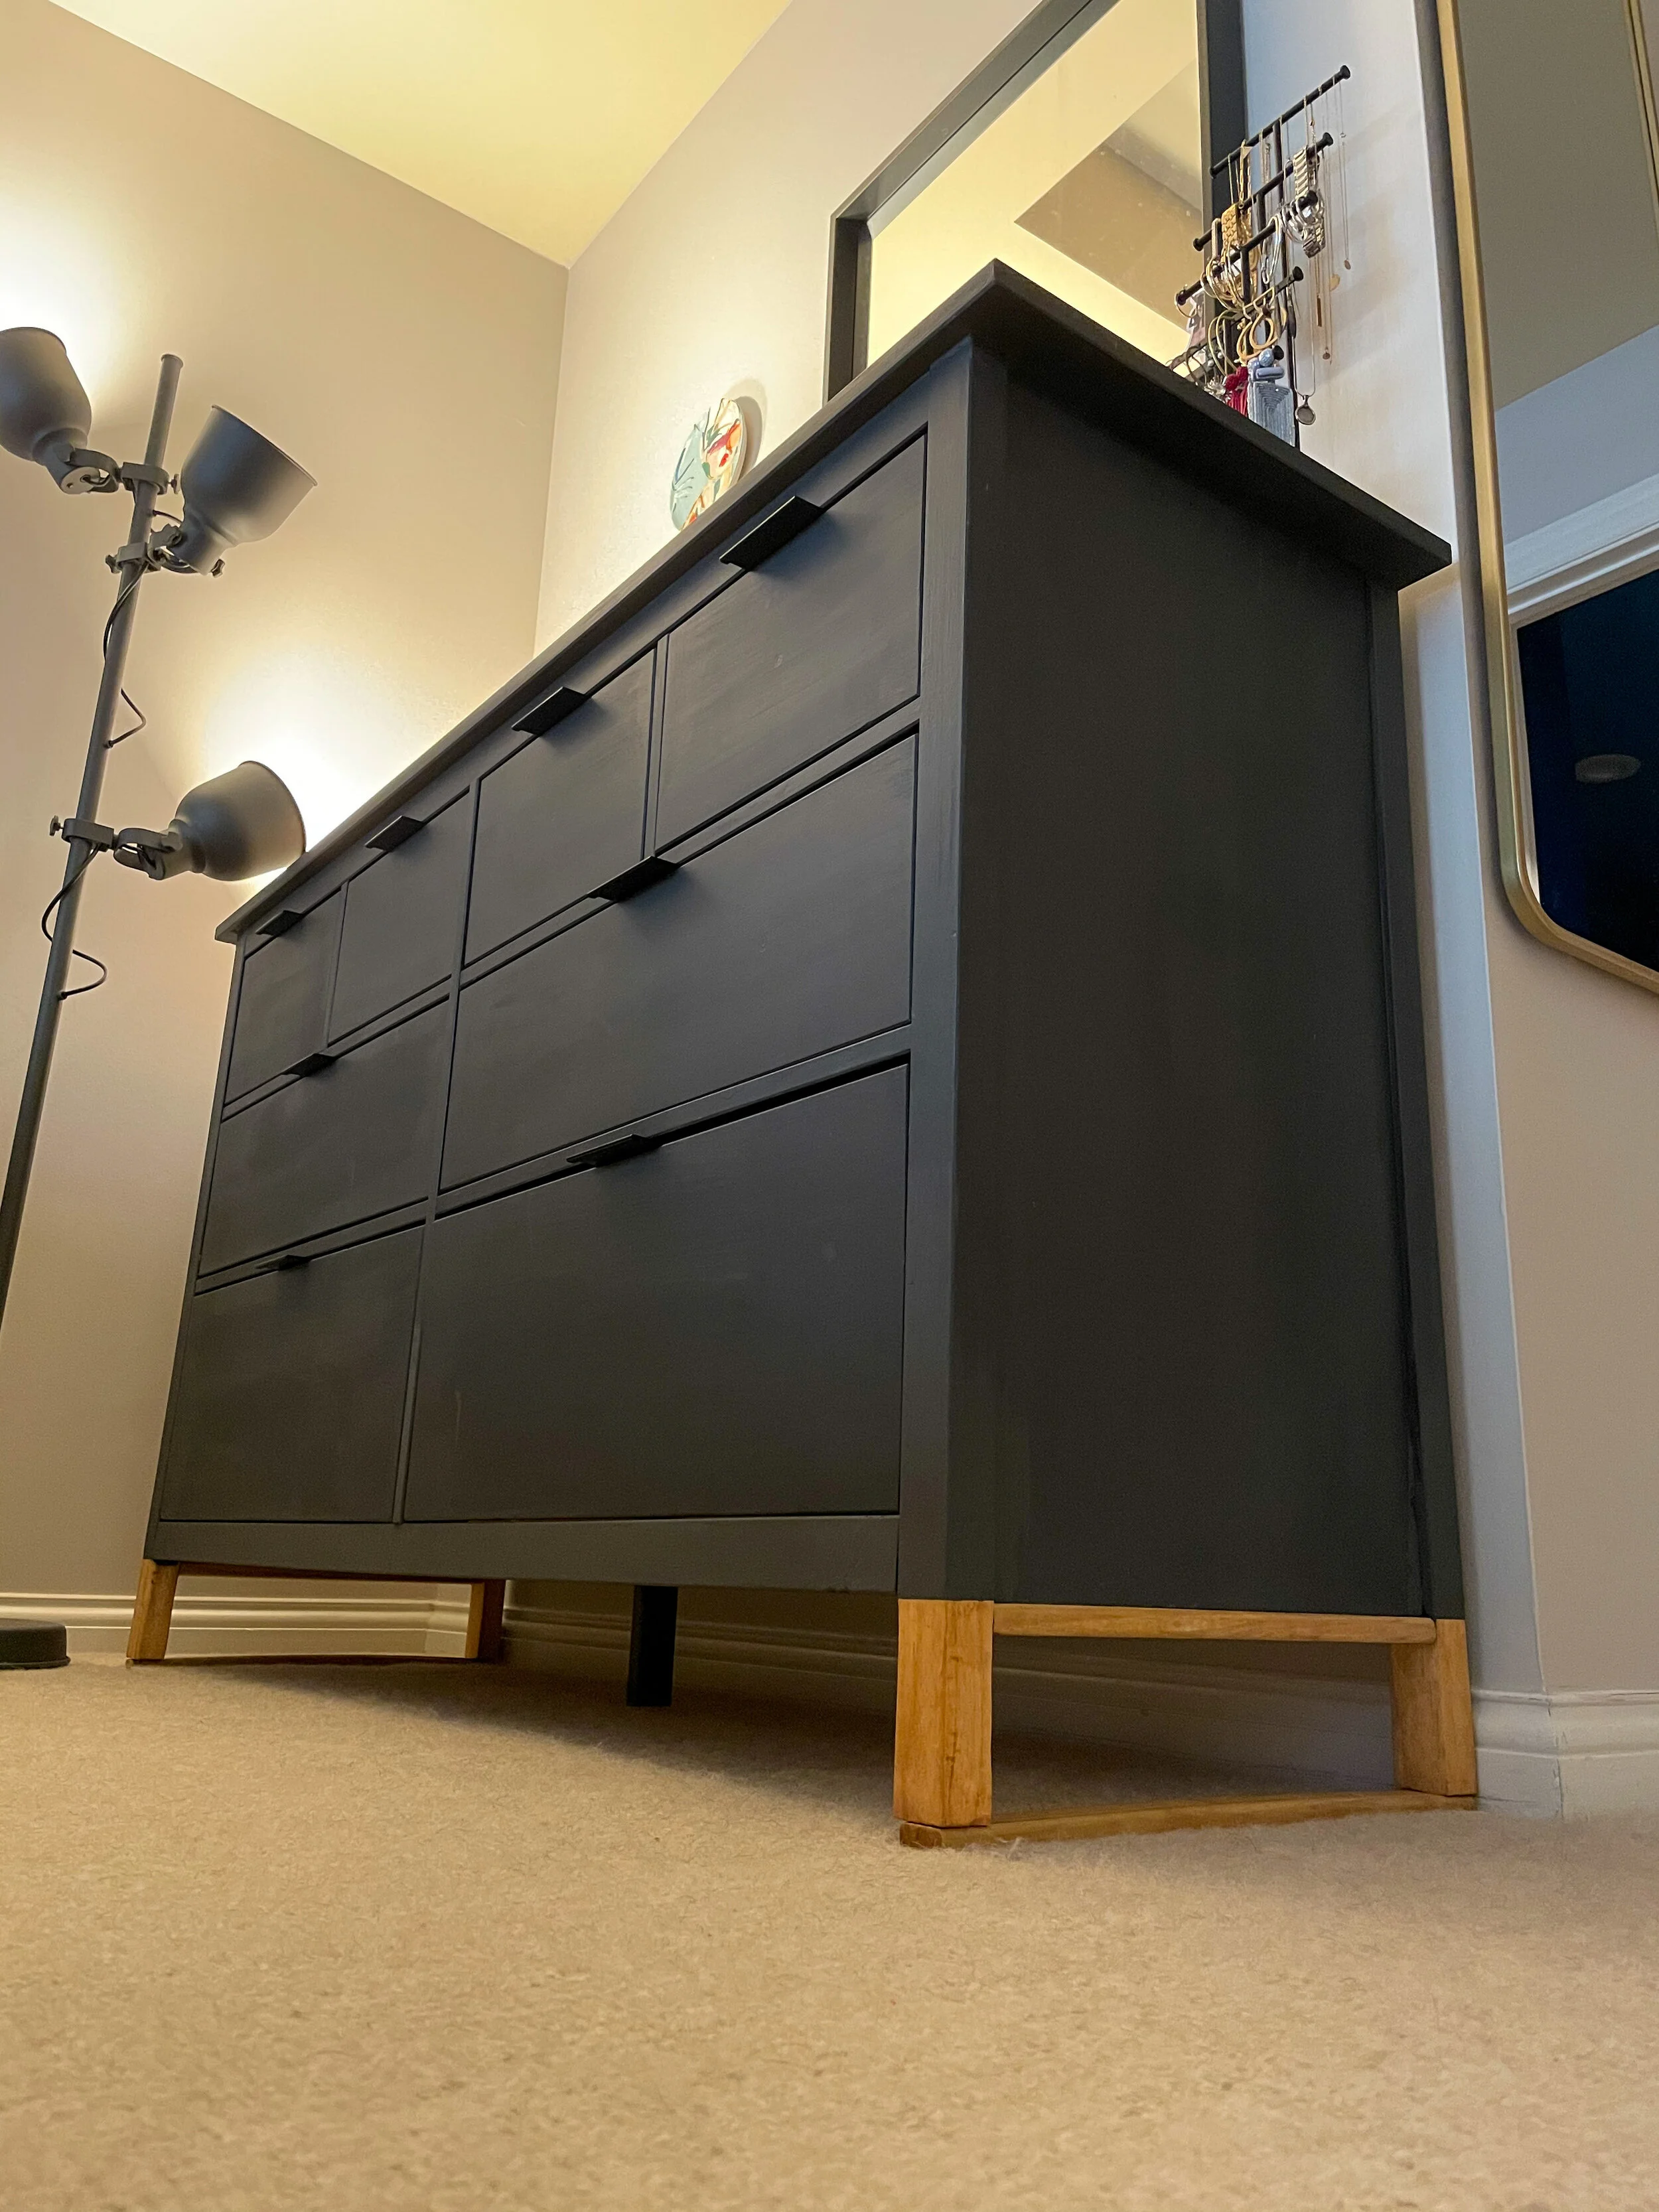
This project was inspired by @angelarosehome.